How To Create Spring Boot Starter Project, Run With Tomcat

Spring boot project
We can create a Spring Boot Starter project with a spring initializer or with the help of the IntelliJ Idea. And we consider this as the base for all the spring applications which are built so far.
You can bootstrap the spring application with one of the two methods available.
- Spring.io – Spring starter kit
- IntelliJ Idea
1. Spring Starter Kit
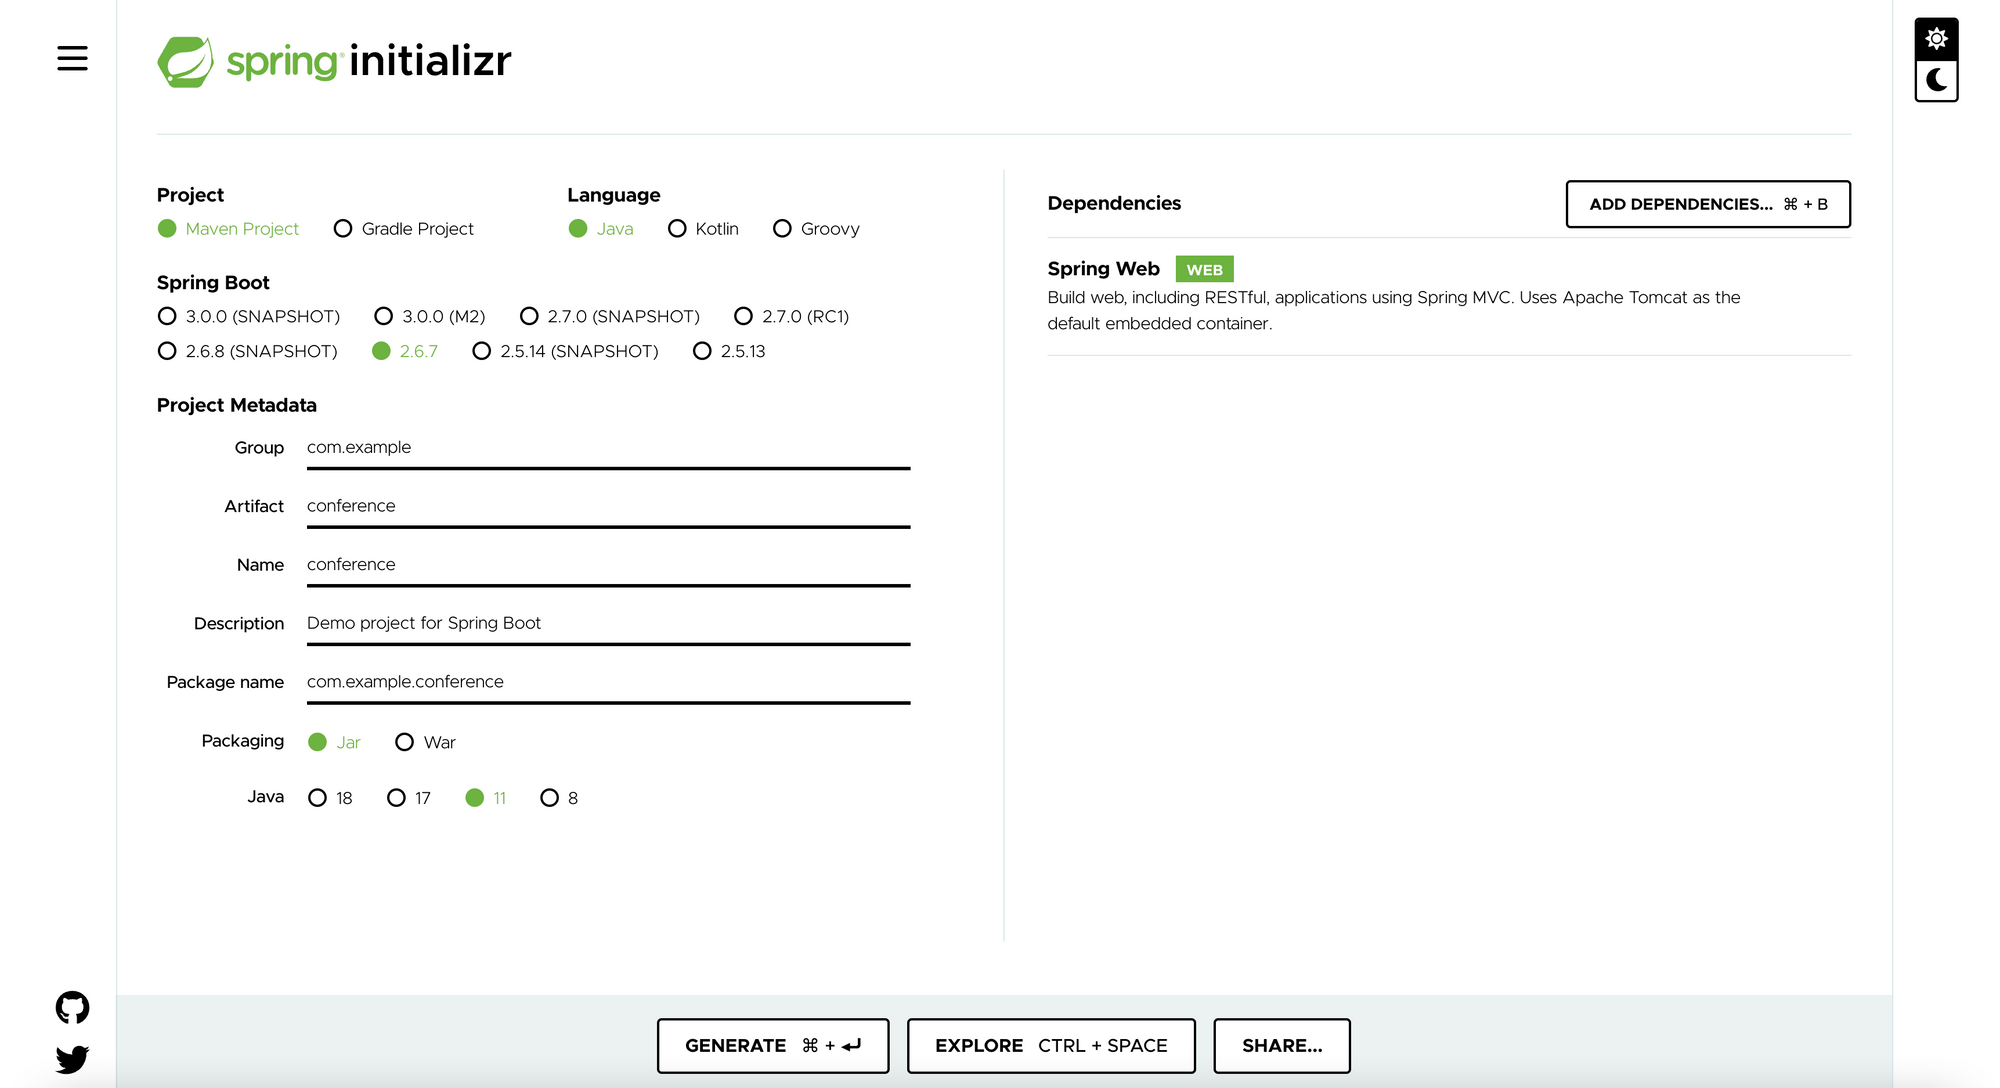
- Go to https://start.spring.io/, and fill the form with metadata of your spring project.
- Select Maven or Gradle project based on your preferences.
- Choose Java your language.
- Let the Spring boot version be set to default for the project metadata; don’t change it.
- Group: We used dev.ggorantala it for an explanation. Please feel free to use the name you prefer.
- Artifact: ${choose your project name, lowercase recommended}.
- Packaging: Let it be a jar for now. We can change it to war packaging later.
- Java: Select the java language installed in your machine and choose the LTS version.
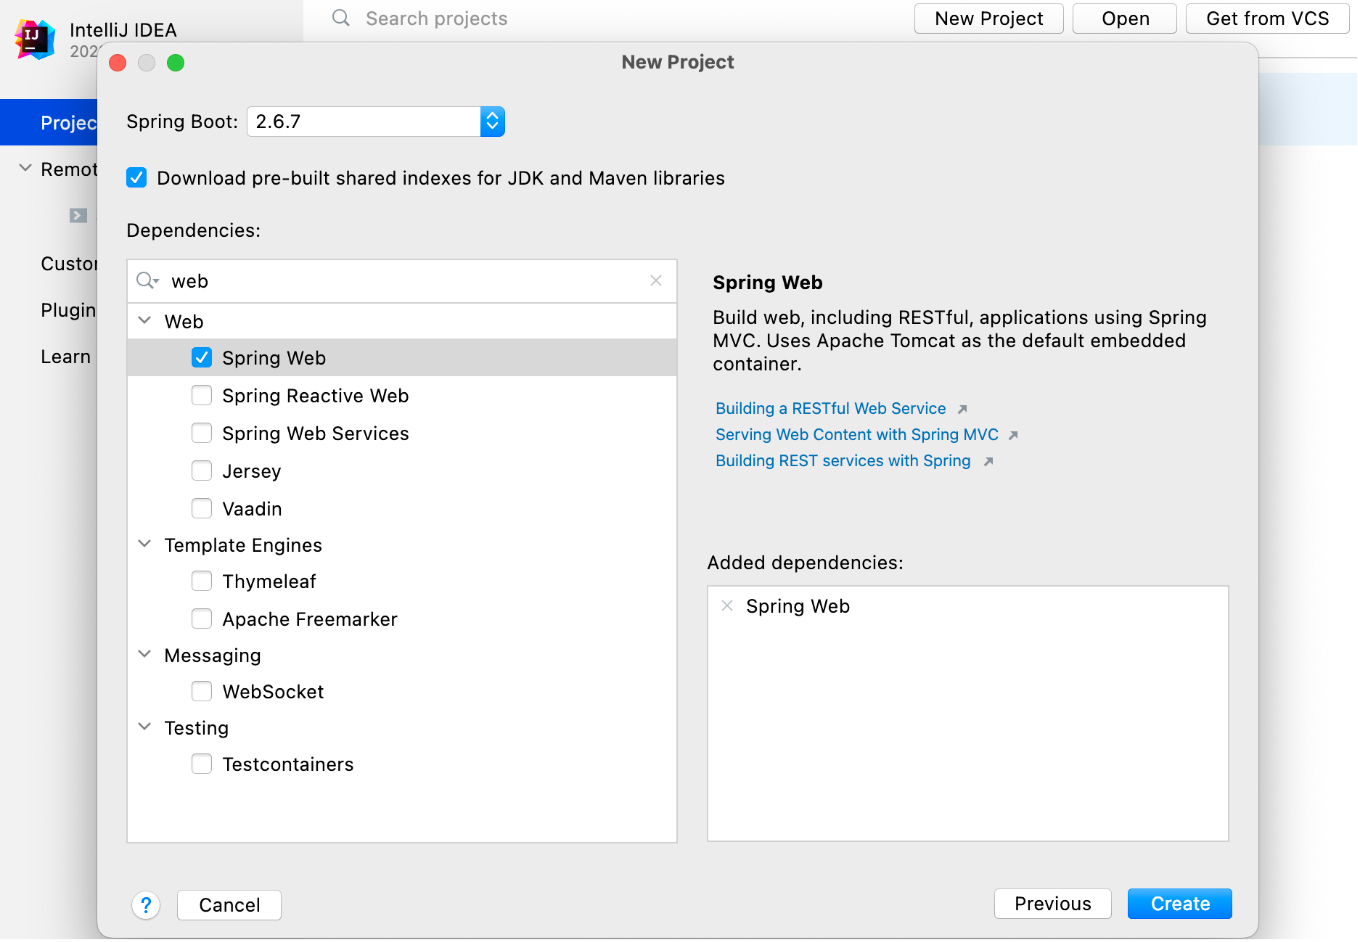
- Add web as your dependency, which builds web, including RESTful applications using Spring MVC. Uses Apache Tomcat as the default embedded container. We can change this later.
- Now click on Generate to generate the project.
- Unzip the project and open it in your favorite editor, IntelliJ-Idea/STS/Eclipse.
2. Using IntelliJ Idea
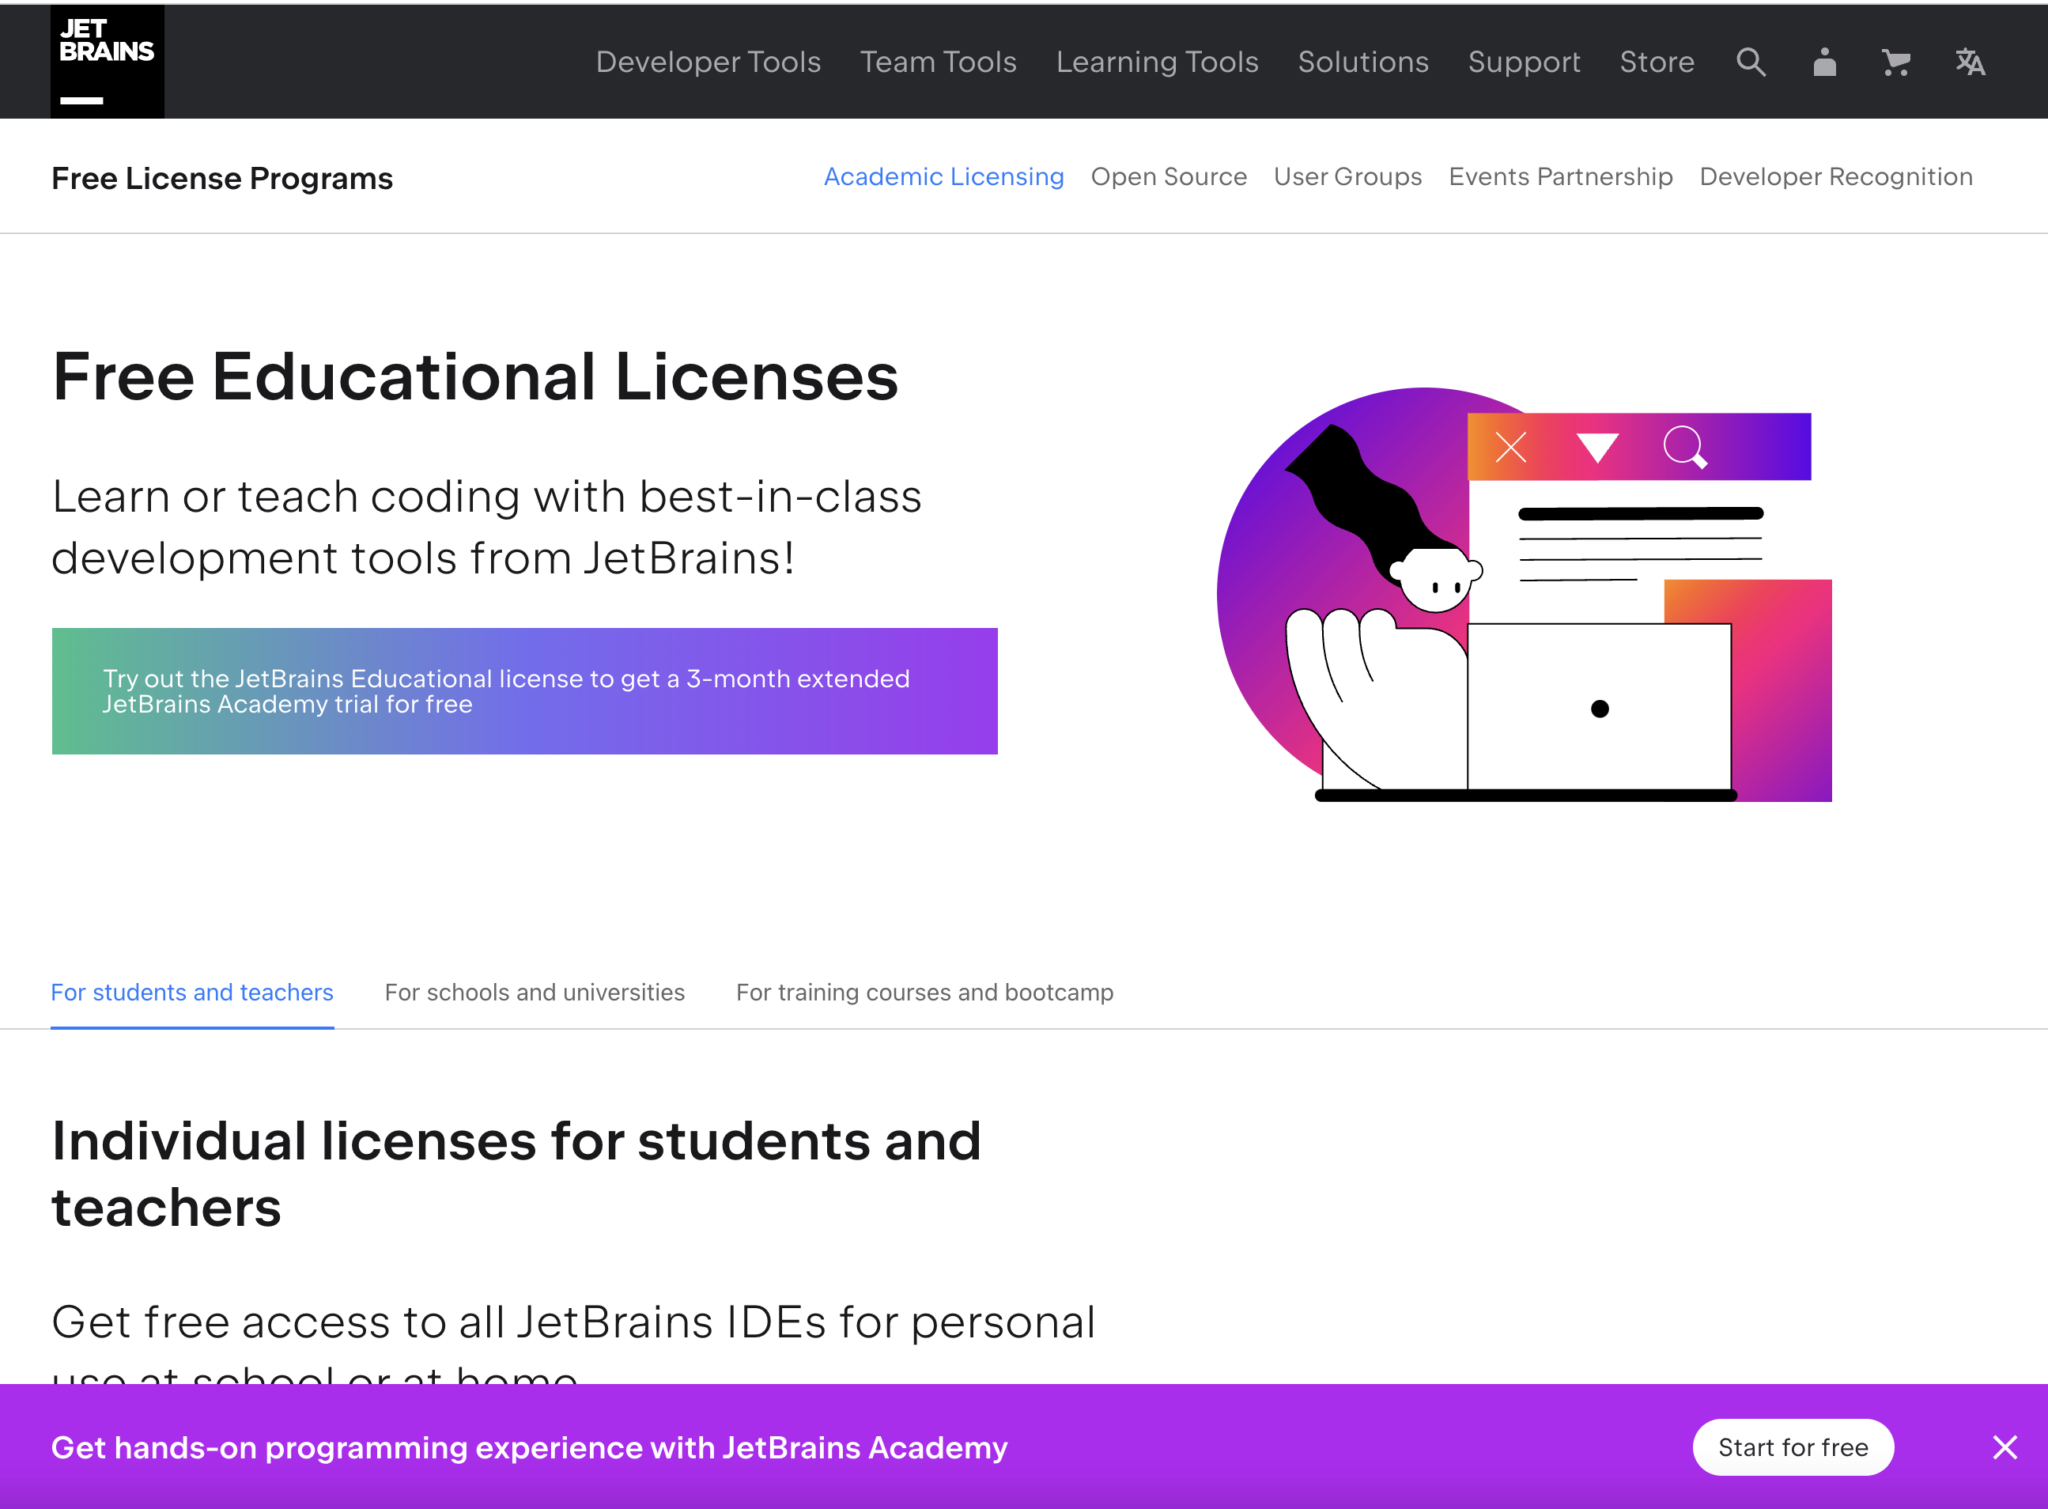
The IntelliJ Idea community edition is free for all. If you want to do more on the IntelliJ Idea and want to take advantage of its advanced features, it’s absolutely free for students and teachers or educators, IntelliJ Idea Free License.
- Download and install IntelliJ Idea and open it.
- Click on “New Project”, and in the left panel select Spring Initializr.
- Select the location in your windows/mac machine.
- Let the Spring Boot version to be set to defaults, don’t change it.
- Group: dev.ggorantala or choose another of your interests.
- Artifact: ${choose your project name, lowercase recommended}.
- Packaging: Let it be a jar for now. We can change it to war packaging later.
- Java: Select the java language installed in your machine and choose the LTS version.
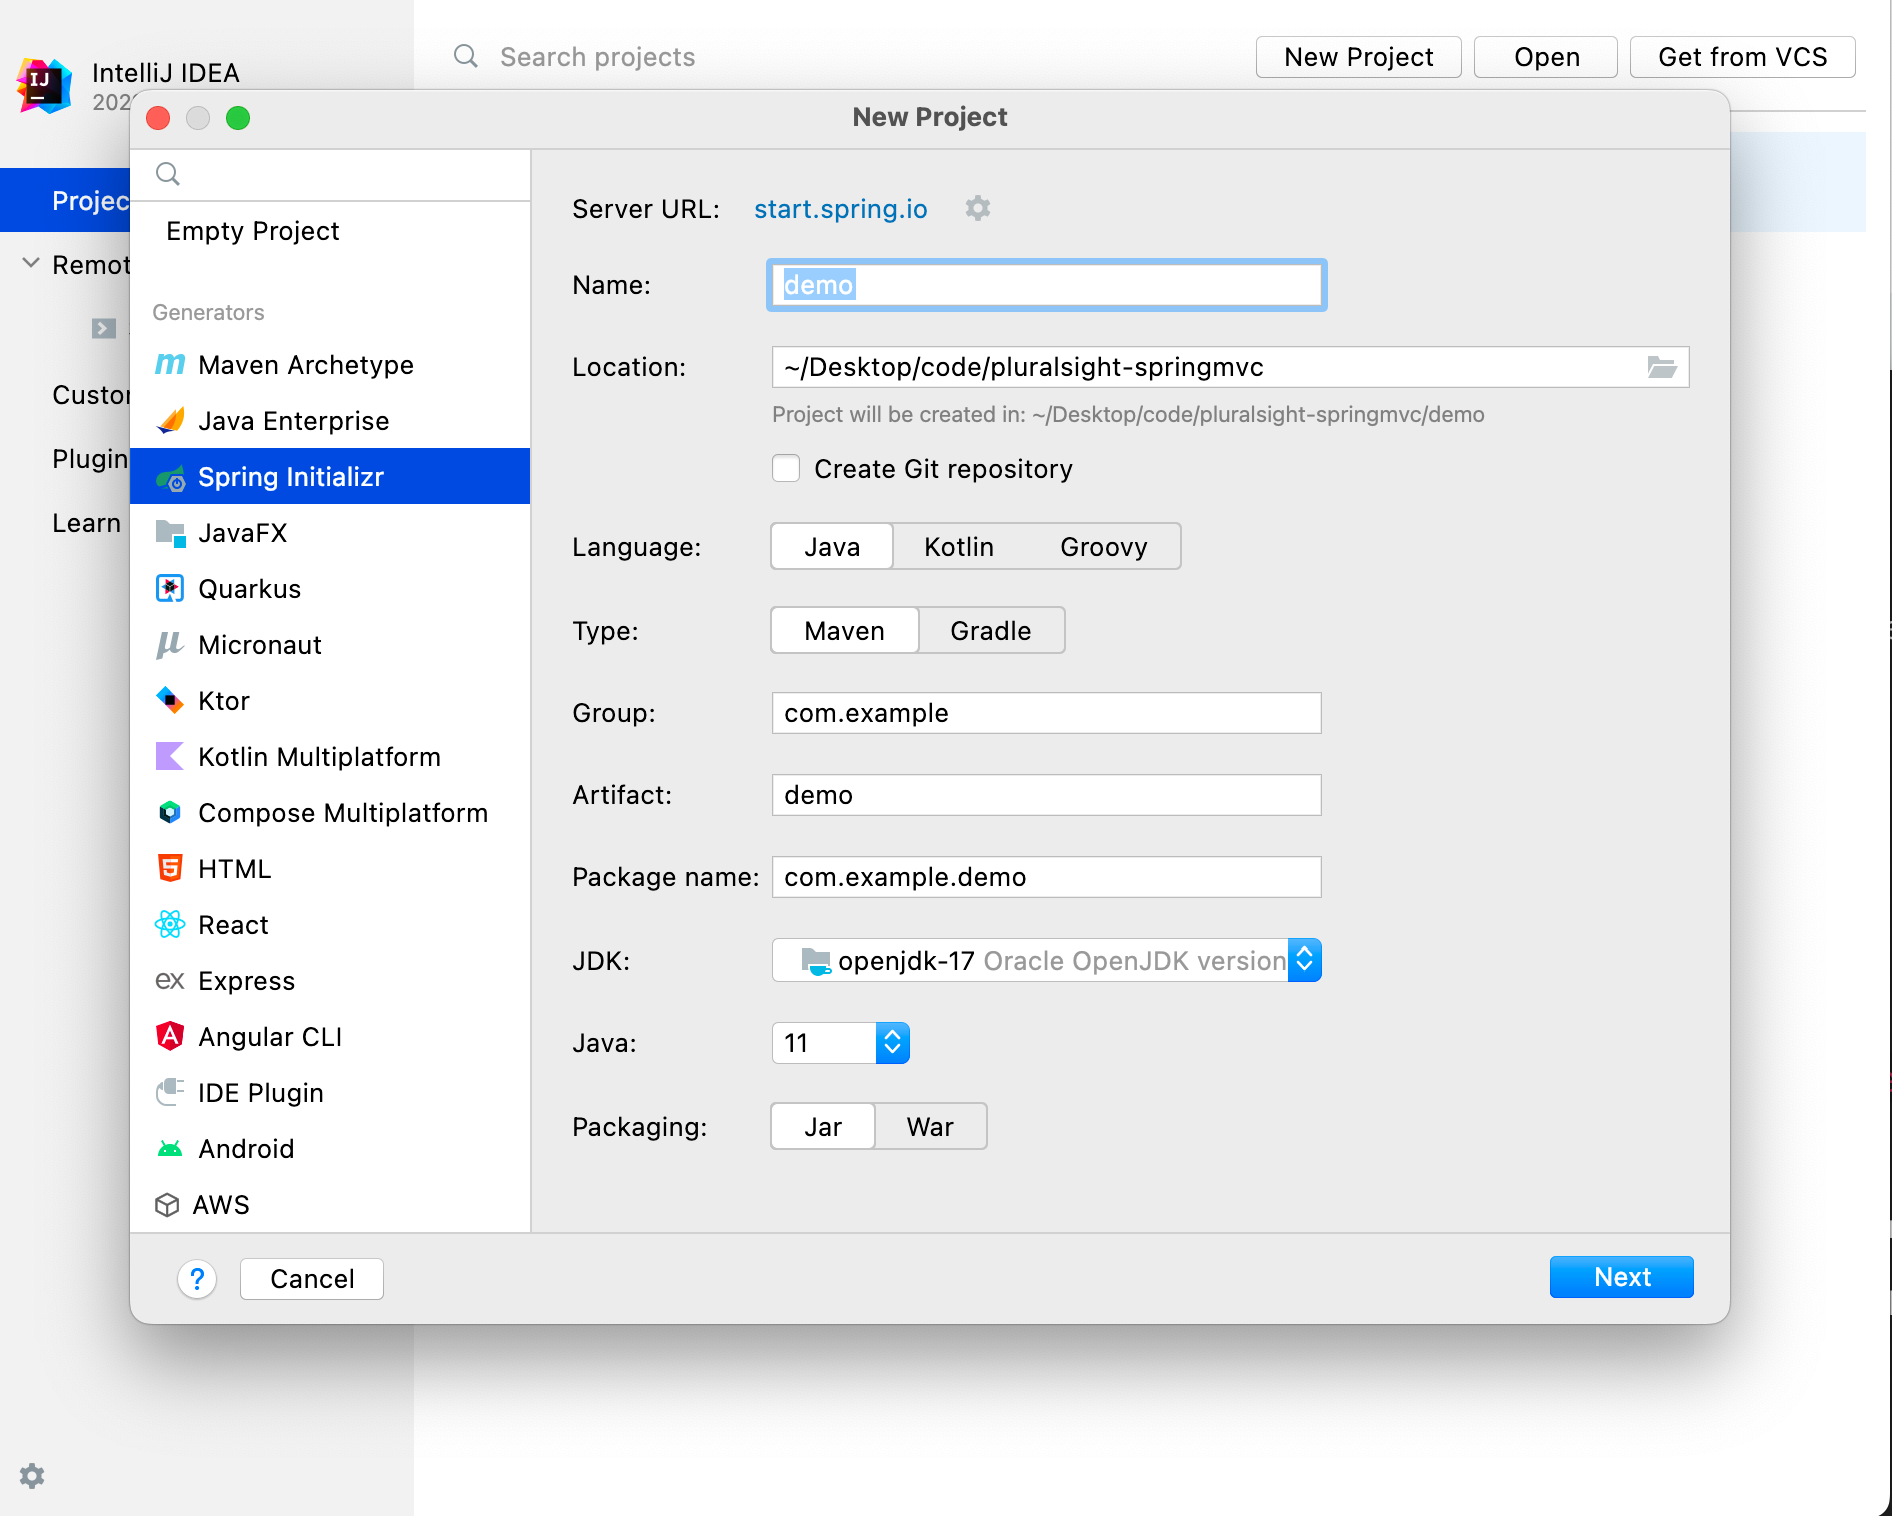
Click next, takes you to next screen. Select the dependency as web, click on create project to get started.
Now you have just built a spring project (or spring boilerplate project).
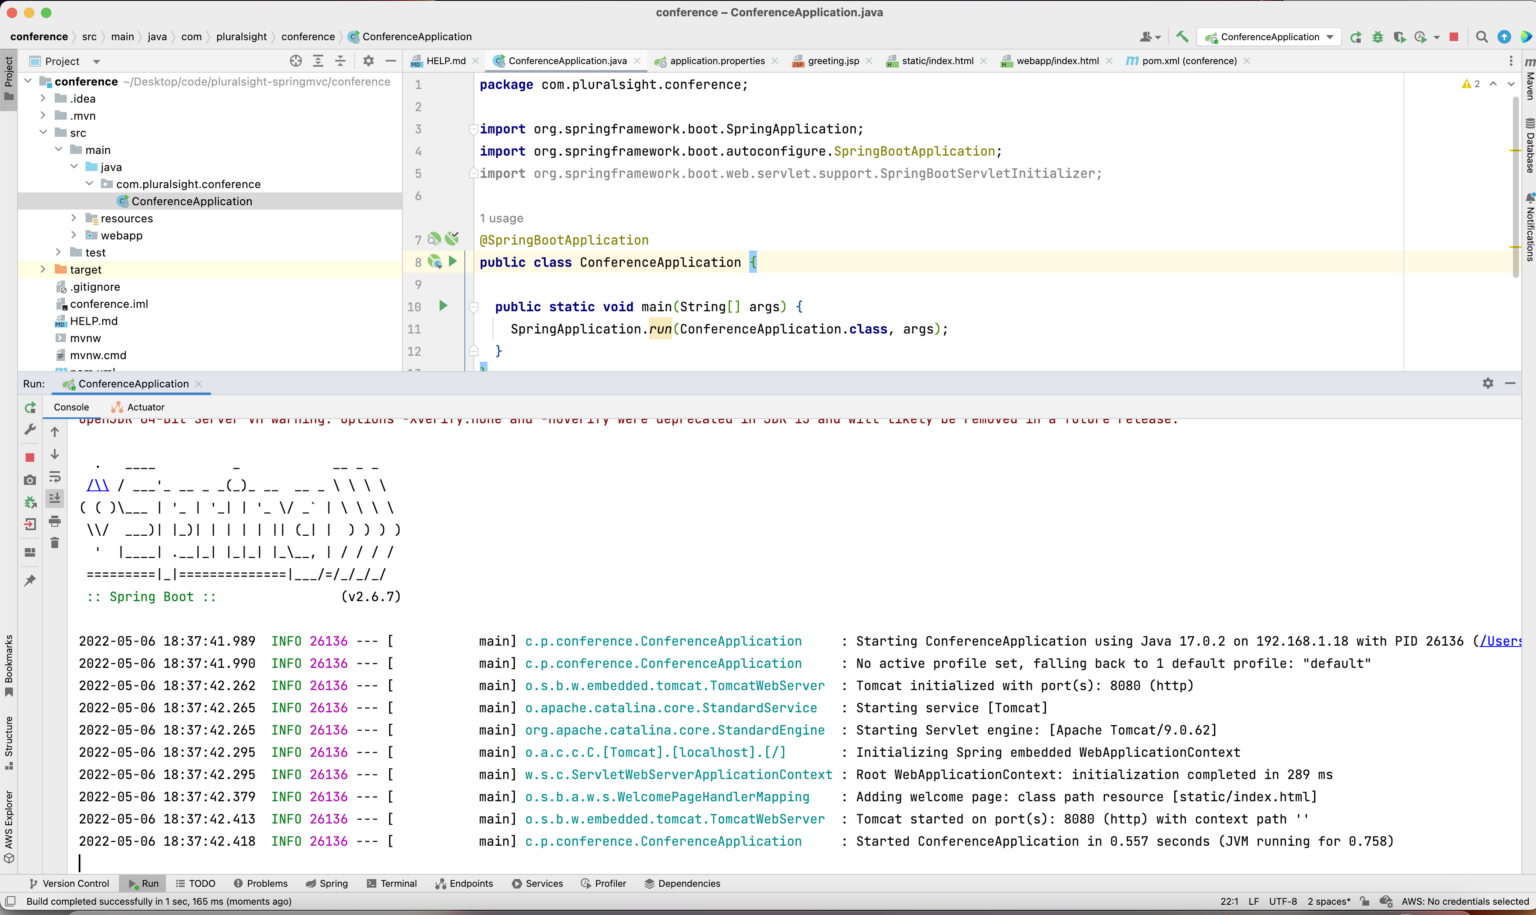
Open the project in intelliJ Idea, navigate to the main method and run the project and you see the inbuilt Tomcat run our application.
Navigate to https://localhost:8080 or https://127.0.0.1:8080 to see your application up and running.
Happy Coding!!